Photo Guide
As I draw from photographs, it is essential that a selection of good quality photos are provided to ensure that a high quality drawing is produced. This guide will provide general tips on how to take, select and send good quality photos with lots of detail.
What do I look for in a photo?
The first thing I look for when viewing photos is their quality. I love getting lots of detail into my drawings, so I will be looking closely at key areas. I recommend a file size of 1MB and over, though this is just desirable and not a requirement. Here are some tips and common problems when taking photos ...
|
TIP - Camera settings and clean lens
Not all photos need to be taken on an expensive camera with all the bells and whistles. Mobile devices are now capable of taking the shots that I require. Just make sure the camera you are using is set to the highest settings (even RAW if using a DSLR). Also, make sure to clean the lens, particularly for mobile devices. Its amazing what one piece of dust can do to a camera. |
|
TIP - Take outdoors
Unless you are very handy with a DSLR and their settings, it is often best to take a photo outdoors in natural light and avoid using the flash. This helps to get a more evenly exposed shot, particularly when using a camera on its 'auto' setting, and often results in a more detailed photo. |
Once I am happy with the level of detail, I next look at the poses and offer advise on what would look best for a portrait. As a rule of thumb, I suggest ...
|
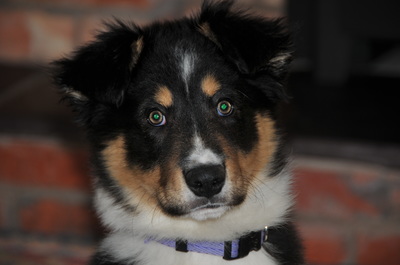
1. TAKING AT EYE-LEVEL - A more desirable portrait can be created if you are at the subjects eye-level, rather than looking up or down at them, particularly for dog portraits.
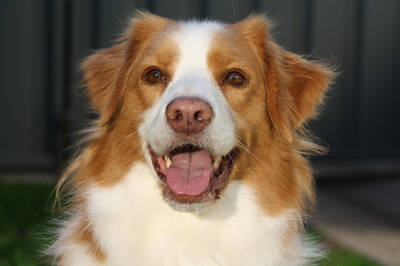
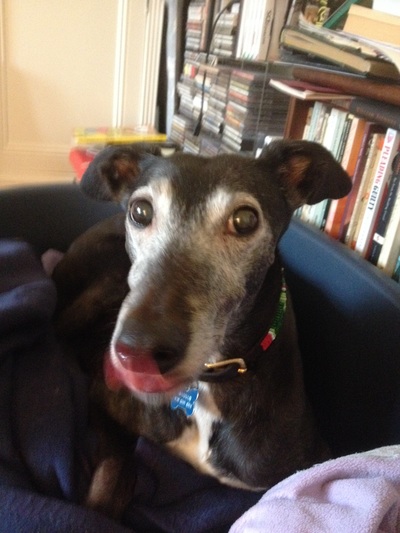
2. TRADITIONAL OR UNIQUE? - A traditional or classic pose would have the subject looking at, or just past the camera. With pets, I would suggest holding a treat over your shoulder to get their attention and to stay still. If you are after something more unique, then get creative. Perhaps the subject playing with a toy, or relaxing in a favourite place. 3. SMILING OR TONGUE OUT? - I love getting lots of detail into my drawings, so I prefer having a tongue out with teeth showing, though again this your personal choice. Taking after a play or walk will help get this kind of shot. |
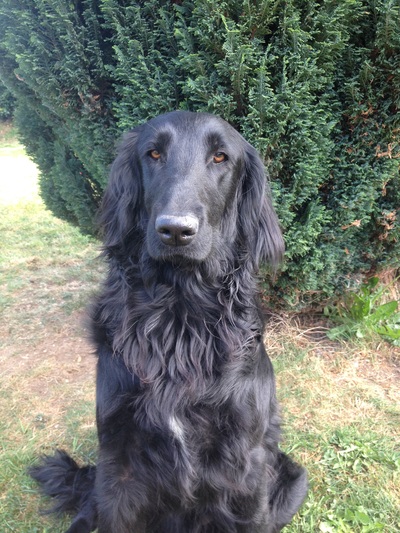
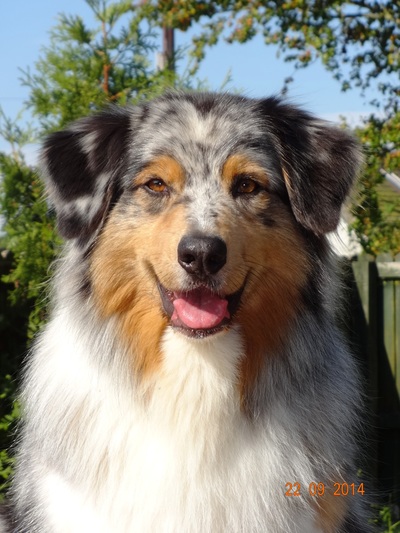
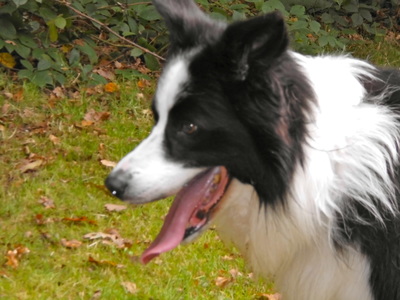
Here are some good examples of the above points and demonstrate a good level of detail and pose ...
|
COMMON PROBLEM - blurred/out of focus photo
This occurs obviously when the subject is moving, and not so obvioulsy in low light. In either case, having the subject keep still is desirable. Holding a treat, or taking after a walk or play should help them stay still. Also, taking outdoors in natural light helps with a cameras shutter speed to ensure a crisper image. |
|
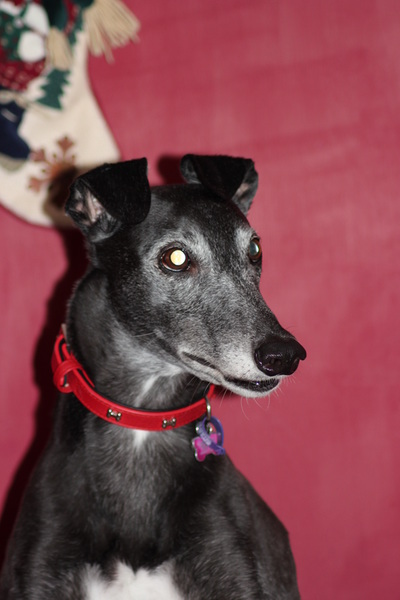
COMMON PROBLEM - glowing eyes
As with humans, pets often suffer the effect of 'red eye' when taking a photo with a flash on. Again, taking outdoors with no flash will help combat this. I can draw out the efffects of red eye, but photos provided without the effect are desirable. |
What's the best way to send some photos?
First off, you can never send too many photos! In most cases, particularly when enquiring about a montage style or group portrait, the more photos you send, the better. I would also recommend sending digital files via a computer/laptop rather than a mobile device as mobiles often automatically reduce file size in order to send attachments quicker.
|
1. EMAIL - You can attach some photos via email. However, some providers limit attachment sizes
2. FILE SHARING - Sites such as 'DropBox' and 'OneDrive' are perfect for sending/sharing lots of large files. 3. POST - You can send lots of digital photos through the post, either on a CD/DVD or a USB stick. Printed photos can also be sent through the post, though I would recommend adding some carboard so they dont bend in transit. |
|
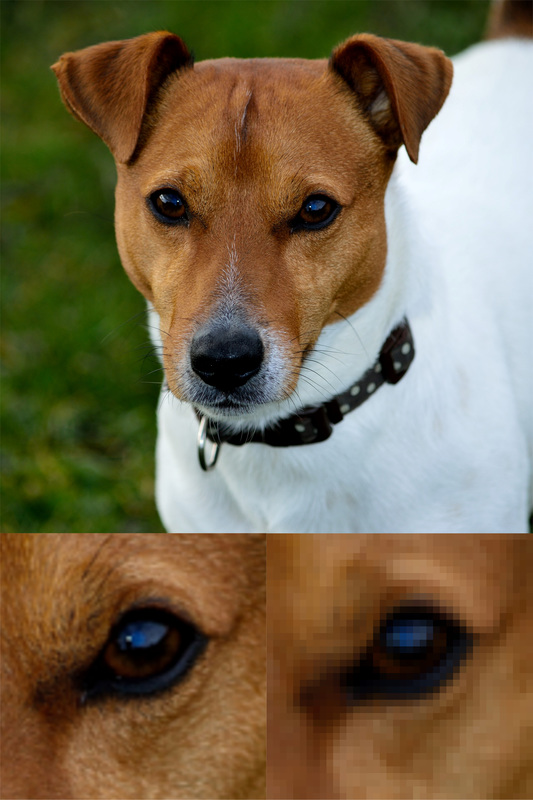
COMMON PROBLEM - sending from a mobile device
Though not always the case, some mobile devices automatically reduce file size to send an attachment quicker. This problem also occurs when extracting photos from a social media website. For example, a photo uploaded to Facebook, and then downloaded back to the computer will be considerably lower in file size than the original. In this example, the same photo was sent from a mobile and a computer. When zoomed in to the eye, you can see that the mobile version (right) has been compressed considerably. Transfering the file to a computer and then sending from there solves the issue. Original image (3.34MB) - main image and left eye detail Mobile version (43.1KB) - right eye detail |
What is Copyright?
Every photograph taken is automatically protected by Copyright, with the 'taker' classed as the owner. I will therefore ask for permission to use a particular photograph before I begin a drawing, by which you will have to confirm the following. In most instances, the first scenario will apply.
I will not accept photographs taken from websites, books and other unknown or untraceable media and sources.
- EITHER ... You own the copyright, i.e. you took the photograph yourself, and you are happy for me to use it to create your drawing.
- OR ... A friend or family member owns the copyright, and they have given verbal permission for me to use the photo to create your drawing.
- OR ... A professional photographer owns the copyright and they have given verbal or written permission for me to use the photograph to create your drawing. In this instance, I may need to verify this permission before I start.
I will not accept photographs taken from websites, books and other unknown or untraceable media and sources.
